If you’re planning to build or renovate near the coast, an elevation survey should be at the top of your checklist. This simple yet important step helps you understand how high or low your property sits compared to sea level — and that can make or break your project’s approval.
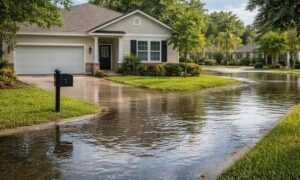
With the city enforcing tighter coastal rules and flood risks increasing each year, elevation data is more than just a number. It’s a safety measure. It can determine whether your project qualifies for insurance, meets building regulations, or even avoids costly flooding in the future.
Understanding Why Elevation Surveys Matter
Before getting into the steps, it helps to know why this survey matters so much. Along the coast, even a few inches of elevation can change everything — from whether your land needs extra drainage to how your foundation is designed.
Elevation surveys help property owners, builders, and engineers know the true ground height and structure levels. They also reveal if your property lies within a flood zone, which can affect your insurance and permit requirements.
For homeowners in coastal neighborhoods like Ocean Beach or Mission Beach, these surveys can prevent surprises later — such as learning that your slab sits below the required flood elevation.
Step 1: Check the Flood and Datum Information
Every good elevation survey starts with solid background research. You or your surveyor will check the flood maps for your property to see what zone it falls under. This helps identify your Base Flood Elevation (BFE) — the minimum height a structure should be built to reduce flood risk.
Another important detail is the datum, or vertical reference point used to measure elevations. In San Diego, most surveys now use the NAVD 88 system. Getting this wrong can cause big differences in reported heights, so it’s crucial to use the correct one from the start.
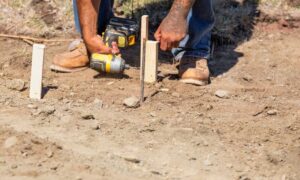
Step 2: Find Reliable Benchmarks
Benchmarks are known points of exact elevation that surveyors use to ensure accuracy. In San Diego County, there are hundreds of them, from inland hills to coastal neighborhoods.
Before heading to the site, a surveyor will locate a nearby benchmark that’s stable and properly recorded. Using these benchmarks ensures that every reading on your property ties back to a recognized elevation — no guesswork, no drift.
This step is especially important near the beach, where erosion or sea spray can change the landscape slightly over time.
Step 3: Map the Site and Overlay Flood Data
Once the background work is done, it’s time to prepare the map. Surveyors overlay property boundaries, topography, and flood hazard zones to see how your site fits into the bigger picture.
For example, a coastal home might sit right at the edge of a flood zone, where one corner of the lot is slightly lower than the rest. By mapping it first, the surveyor knows exactly which areas to focus on during field measurements.
This preparation saves time and makes sure every crucial point — driveways, garages, and building corners — is properly captured.
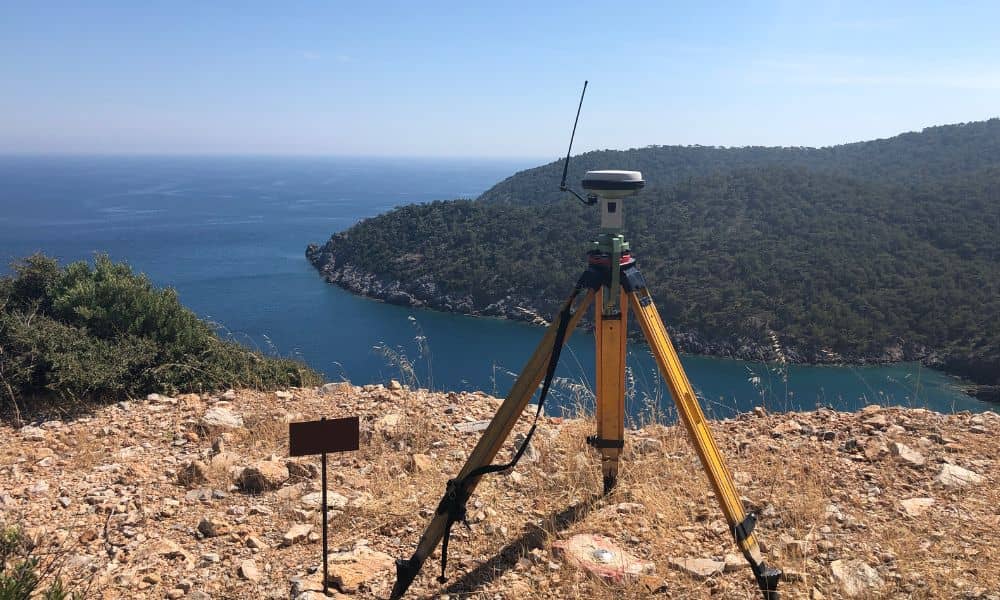
Step 4: Collect Field Data
Now comes the boots-on-the-ground part. Using tools like RTK GPS or total stations, surveyors measure the actual elevations on site.
They’ll collect data on:
- The ground level at multiple points
- Building corners and lowest floor levels
- Driveways, curbs, and drainage paths
- Any seawalls or nearby structures that affect runoff
On coastal sites, even small changes in tide levels or reflection from the ocean can affect readings, so timing and precision are key. Good surveyors double-check their equipment, calibrate often, and compare readings against their control points to ensure accuracy.
Step 5: Create the Elevation Report or Certificate

Once field data is collected, it’s turned into a clear report or certificate. This document outlines the exact elevations of your property and identifies any parts that fall below flood level.
For most properties, this becomes a FEMA Elevation Certificate, a document required by insurance companies and local building departments. It shows:
- The height of the lowest floor
- Ground and slab elevations
- The reference benchmark used
- Certification from a licensed land surveyor
This certificate can help reduce insurance costs if your property sits safely above the floodplain — or guide improvements if it doesn’t.
Step 6: Use the Data for Permits and Design
The elevation survey isn’t just paperwork. It directly feeds into design and permitting decisions.
Architects use it to plan proper grading and drainage. Civil engineers rely on it for stormwater management designs. Builders use it to set the correct foundation height, avoiding expensive rework later.
For coastal projects, the city may also ask for an elevation certificate before granting final approval. Having it ready shows you’re proactive about safety and compliance.
Step 7: Keep a Record for Future Updates
San Diego’s shoreline is constantly changing. Between seasonal tides, storm surges, and gradual sea-level rise, today’s safe elevation could need adjustment years from now.
Keeping your elevation survey and certificate on file helps you stay prepared. It makes refinancing, selling, or renovating easier — and provides a trusted reference if new regulations come in.
Why It’s Worth Doing Right
An accurate elevation survey can protect your investment in more ways than one. It reduces your flood insurance costs, helps you comply with local codes, and prevents costly construction errors.
Even more importantly, it gives you peace of mind knowing your home or project is built to withstand the unique conditions of San Diego’s coast.
Final Thoughts
Living by the beach is a dream — but it comes with responsibilities. Getting an elevation survey done early in your project ensures your property is both safe and compliant.
Whether you’re planning a new build, a remodel, or just want to understand your flood risk, hiring a licensed land surveyor who knows the coastline is a smart first step.
Build smart. Build safely. And always start with a precise elevation survey.